Showing posts with label how-to. Show all posts

Monday, June 9, 2014

trader joe's plus your own back yard


I absolutely love putting together floral displays.  I usually go to Trader Joe's (everyone's best friend) and pick up an array of whatever they have on hand that looks inspiring, then go out into my own yard and cut some trimmings from anything out there.  I've used clippings from our olive tree, bougainvillea, oleanders, or any other greenery that seemed like it might add a nice touch.  My daughter Christine has a lovely eye for putting florals together, so I asked her to help me throw something together as an example...


The trick to putting flowers into any odd container you feel inspired to use, is to find a vase that will fit into the pot, basket, box, etc. that you are using and then try to cleverly hide it (as I also did here)...


Simply mix in the flowers with the greens from your yard and evenly spread them around and over the edges of the basket to hide the vase that is inside...


And, there you have it.  It looks like a basket of collected flowers, but they will stay fresh in the vase hidden inside.  What a happy little bundle to have in your home or give to a friend!

Friday, June 6, 2014

cheese board


It's the weekend!  I am off to France with my hubby to celebrate our 40th wedding anniversary!
  Thought I would leave you a little cheese board inspiration I threw together for one of our family parties.  I always love a delicious (and pretty) cheese board.  Throw one together and have a patio date night this weekend or invite some friends over to enjoy the warm evenings (before they become hot evenings...).  Summer should be all about cheese boards for dinner, I say :)

Tuesday, May 27, 2014

flowers 101


I have had lots of people ask me about how to keep flowers in different containers.  When I told a couple of my daughters my secret, I was shocked they had never heard of it.  Simple as it seems, I guess unless you are told, you just might not think of it :)  So, I thought I would share in case you didn't already know...
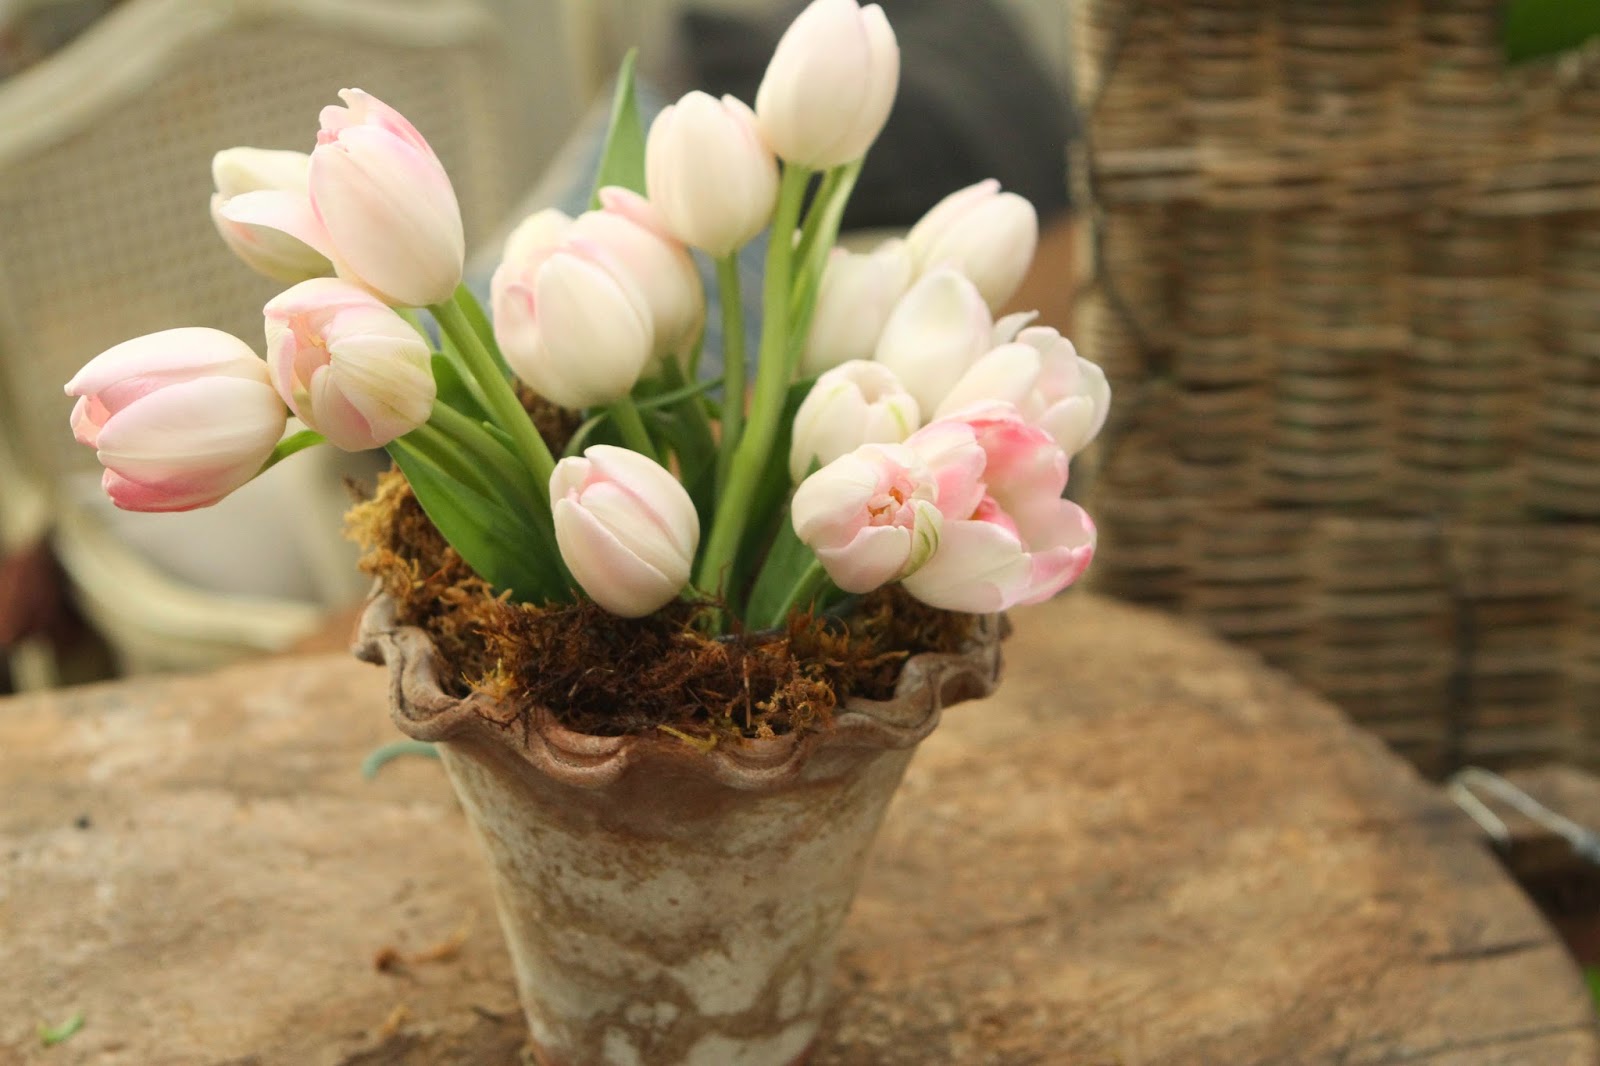
The trick is putting your flowers in some sort of glass container before you put them in something that might now hold or take water as well.  Easy as that.  In this case, I took some simple Trader Joe's tulips and cut them down to fit in a small water glass...
  

Then, I put the glass in my little pot...


Sometimes, as is the case here, you can still see the glass inside the pot...


So, I put some moss in a dish...


Watered it...


Then added a little moss around the edges...


And there you have it...

Trader Joe's flowers and a few tricks and you'll never have to order flowers again :)

Friday, May 16, 2014

happy friday!


I have been asked from time to time to share some tips and tricks I have picked up over the years in arranging my own floral displays using flowers I have picked up from Trader Joe's, a few trimmings from my own yard and an array of containers.  I will put together a few fun floral arrangements to share, that you will hopefully enjoy using in your own home or as a gift for someone you love.  (Did you see our mother's day flowers?)  So, check back here next week for some fun with flowers :)
In the meantime, have a lovely weekend!

Saturday, May 10, 2014

happy flowers for the mom you love.


Like most moms, I love flowers.  I love getting them, I love having them in my home.  I especially love picking up flowers from Trader Joe's and arranging them myself.  The possibilities are endless.  One trick I've learned over the years is how easy orchids are to have in your home and to care for.  In just a few minutes you can put them together in a way that looks like they came from a florist and they will last for weeks and weeks.


First, remove the case they come in...


Next, wrap some moss around their base...


Then, place them in a vase with just about two inches of water only in the bottom...


For a little something extra, you can use twine to tie a little moss around the stem where the orchid is attached to the stick by a less-than-attractive piece of plastic...


Occasionally, add a little more water as you see the level going down, but never much.
They should last for weeks and weeks!
Give some to a friend and keep some for yourself!
They are certain to brighten up any home!


Happy Mother's Day to all the moms out there!
We love you!
What would the world be without moms!

Thursday, April 28, 2011

garden boxes


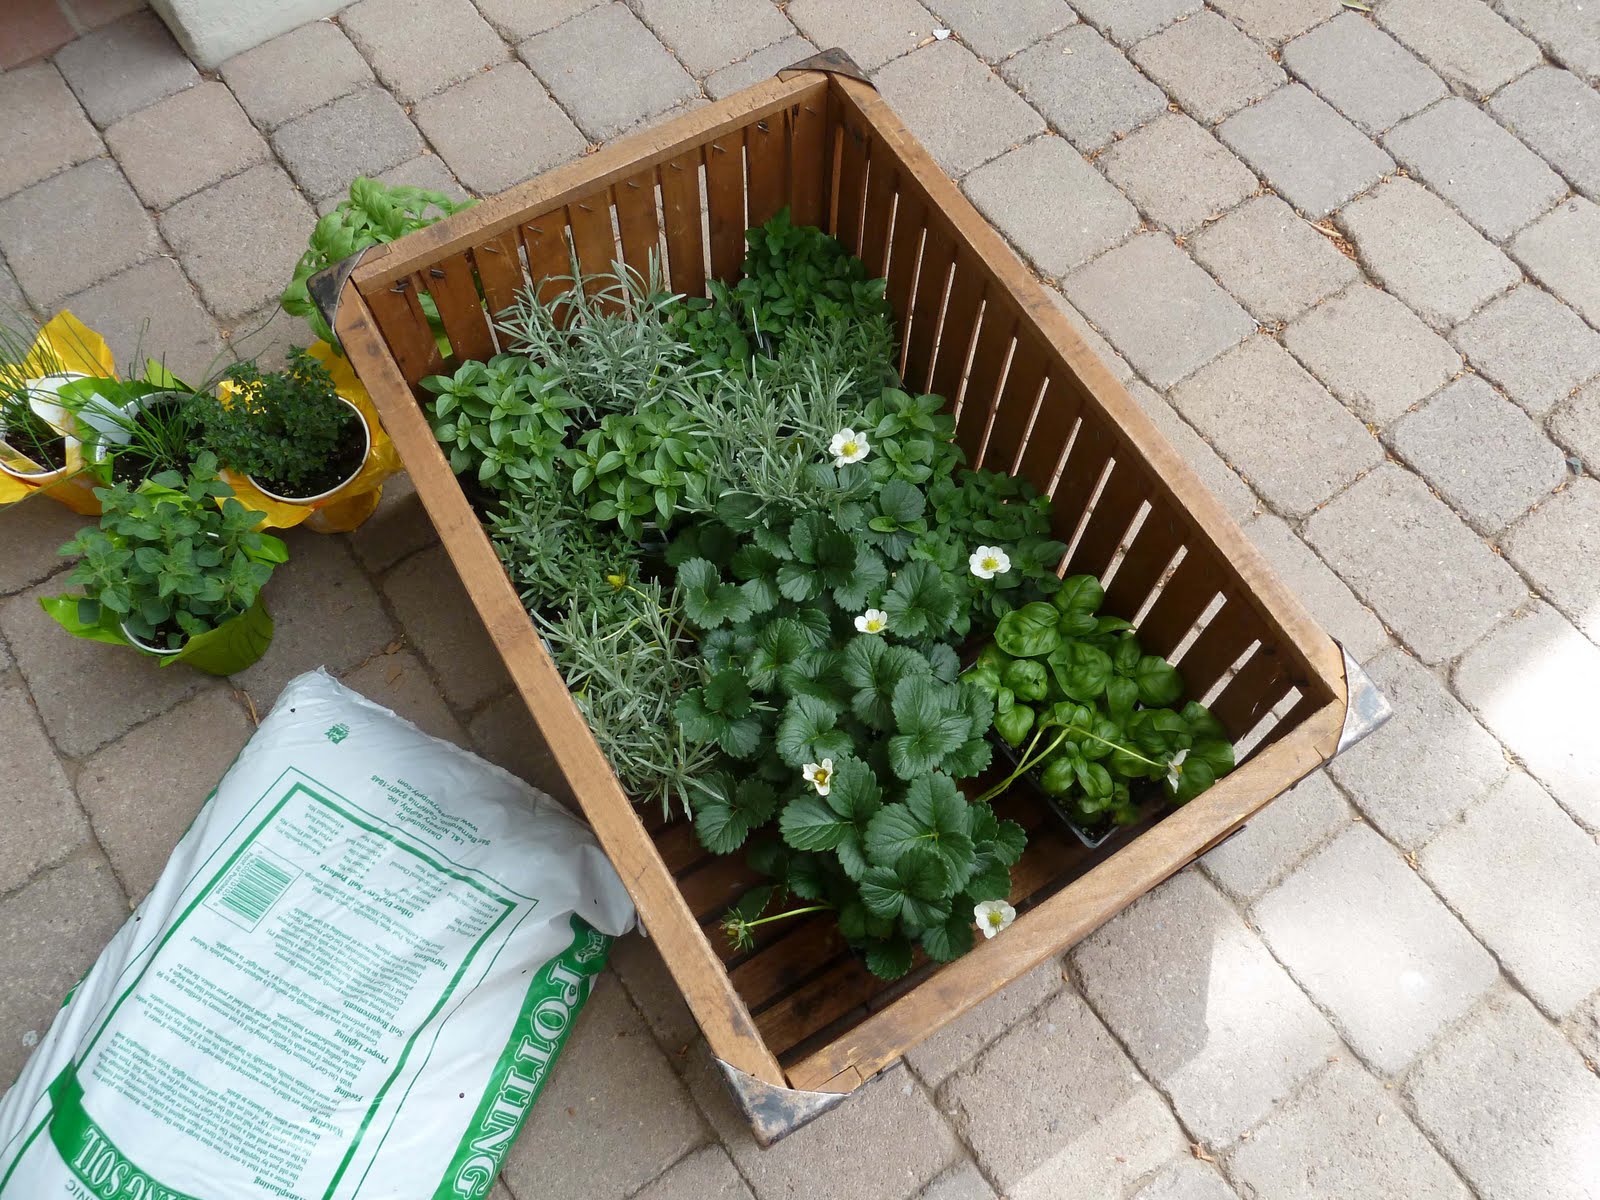
For Easter this year I made each family a little garden box full of herbs planted in these vintage boxes I picked up at the flea market.  I sent the Chicago Burches all the fixings in the mail, but put together everyone else's to give to them on Easter.  I lined the bottom of each box with some kind of moss-something-or-another from Baker Nursery (sorry, I can't seem to remember what it was called, but the wonderful folks at Baker will surely know what you need...).  


Then I simply filled each box with dirt and planted all the herbs side by side...


I think they turned out so sweet and everyone seemed so excited about them.  Don't you think this would be the best present to give someone as a housewarming gift?  I know I would love it...

Wednesday, April 27, 2011

driftwood boats


Last week while I was in California, I spent a good amount of time collecting driftwood on the beach.  I brought an entire basket home and decided it would be fun to make boats out of the different pieces.  After making two one evening for myself, I thought it would be a fun project for all the kids to get involved in, so I set up a table in the backyard on Easter with all the supplies and everyone had a wonderful time making them.  And, I must say, I think they all turned out amazing.  


I gathered sticks from my yard to use as the masts for the boats and drilled holes into the driftwood, so it would be easy to stick the mast right in and secure with a little glue.


Everyone cut out their own sail template based on the size of their driftwood and mast and then cut the sail from any of the fabric scraps I brought out for them to use.  Everyone embellished theirs differently with fabric, trim, stamps, etc.  We twisted eye hooks into the mast and sewed the sail to these little hooks.  And there you have it.  An easy, lovely and highly satisfying craft project.
  

 And, I must add, they look awfully cute sitting around the house...


It was a great outdoor project that the kids from 3 year old Finn to 13 year old Peter and all the way up to the adults, all seemed to enjoy.


Peter certainly got the most creative with his.  He even gave it a test drive in the pool and it stayed perfectly afloat...


Let us know if you try one of your own!  We would love to see how they turn out!